Working with sensors
Sorting and grouping in tables#
Sorting the tables
The table in the sensor view can be sorted on any column by pressing the column name. Every click toggles between no sorting, Ascending, Descending.
Group sensors by column
The sensor in the list can be grouped by column. To enable grouping, pull the column header to the empty field above the column header. To remove grouping, simply press the X after the grouped column.
Selecting multiple sensors in the sensors view#
Selecting by clicking and dragging with mouse - Press the left mouse button and drag a square around the sensors you wish to select.

Selecting by using [Shift] key - Select the first sensor you wish to select, hold down the [Shift] key and select the last sensor.
Selecting or unselecting by using [Ctrl] key - Select random sensors by holding the [Ctrl] key while selecting sensors. The [Ctrl] key can also be used to unselect sensors.

How to add existing sensors to a group#
-
Navigate to the sensors view.
-
Select the sensors you wish to add to the group.
-
If the information pane is hidden, press the paperclip to expand it.
-
In the information pane on the left side of the view, press "Add groups to selected sensors".
-
Enter a new group or select an existing in the textbox and press return. When ready press "Finish".

Removing sensors#
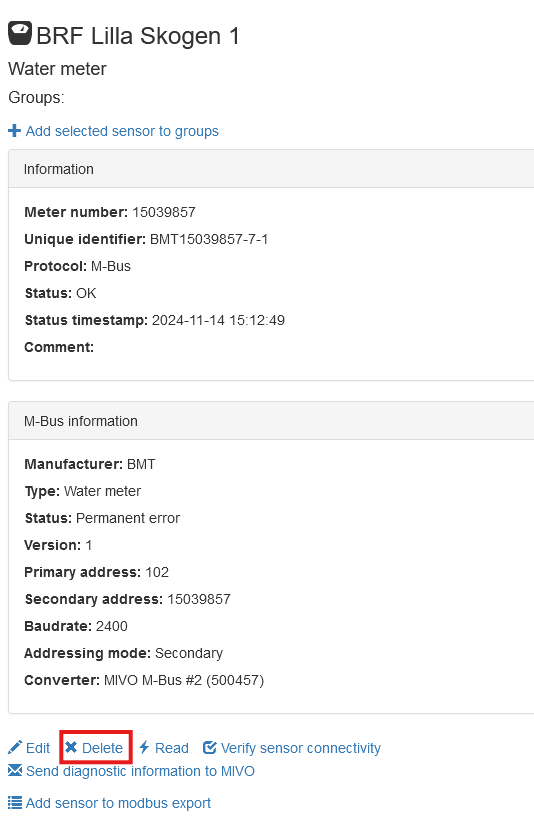
Removing one sensor
-
Navigate to "Sensors"
-
Scroll down and choose the sensor that you want to remove.
-
To your right you will se a menu where you have several choices. To remove a sensor from the MIVO, press "Delete"
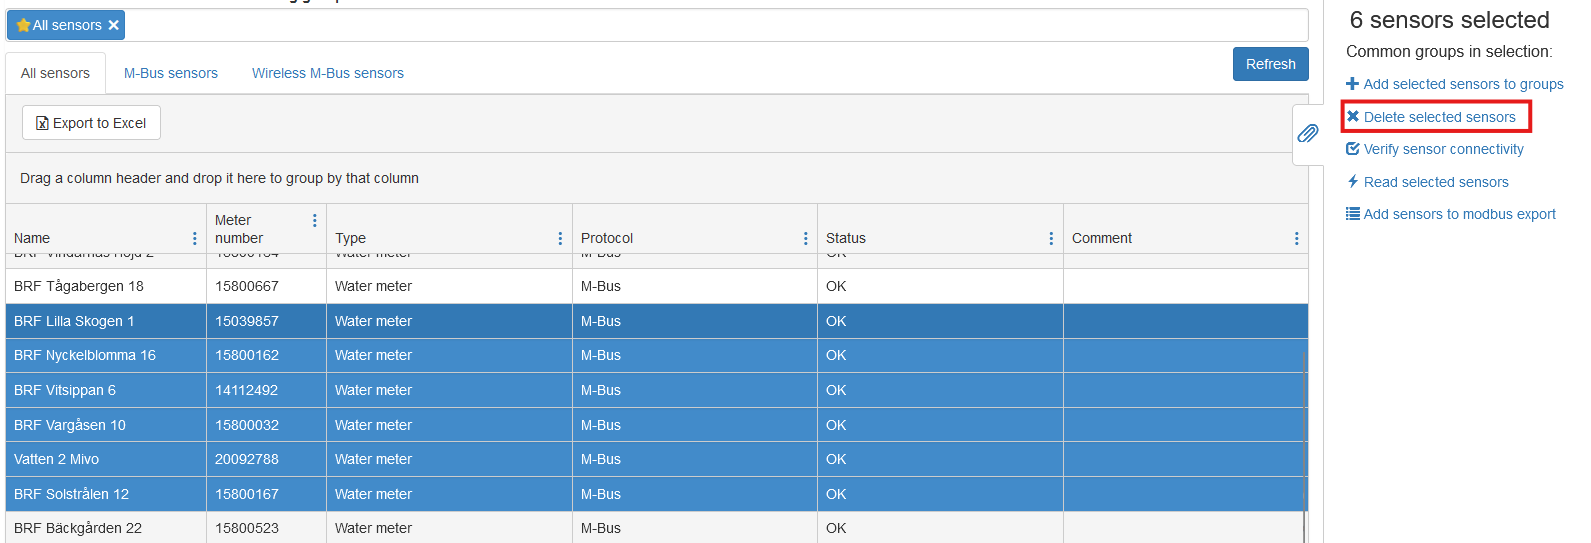
Removing more then one sensor
-
Navigate to "Sensors"
-
Scroll down and choose the sensors that you want to remove. Hold the [CTRL]-key as you drag and select your sensors.
-
To your right you will se a menu where you have several choices. To remove a sensor from the MIVO, press Delete selected sensors
How to remove sensors from a group#
-
Navigate to the sensors view.
-
Select the sensor or sensors you wish to remove from a group.
-
If the information pane is hidden, press the paperclip to expand it.
-
In the information pane on the left side of the view, press the cross on the group you wish to remove.
Listing Sensors in a Group#
-
Navigate to the Sensors view.
-
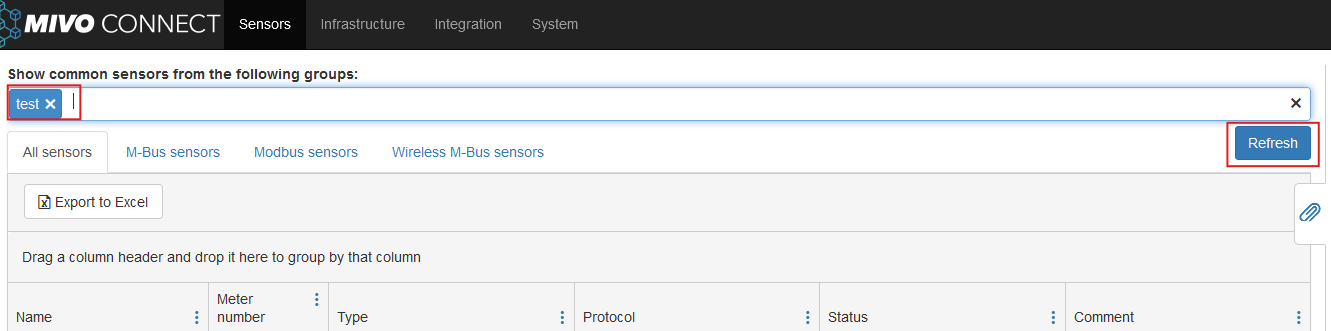
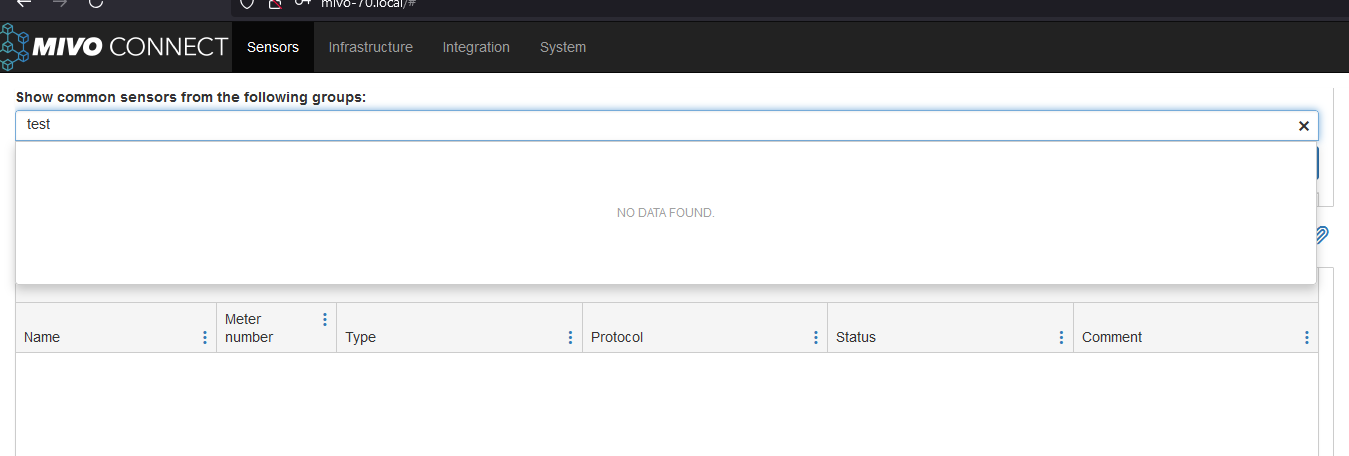
Below the main views, you will find a search bar. Type in the name of the group you want to list.
-
Click on the group from the search results.
-
Click Refresh. All devices under the selected group will now be displayed.
-
You have now successfully listed all sensors in the group.
Deleting a Group#
-
Navigate to Sensors in the user interface.
-
Enter the group name in the search bar located below the main views.
-
Click on the group from the search results to display all sensors in it.
-
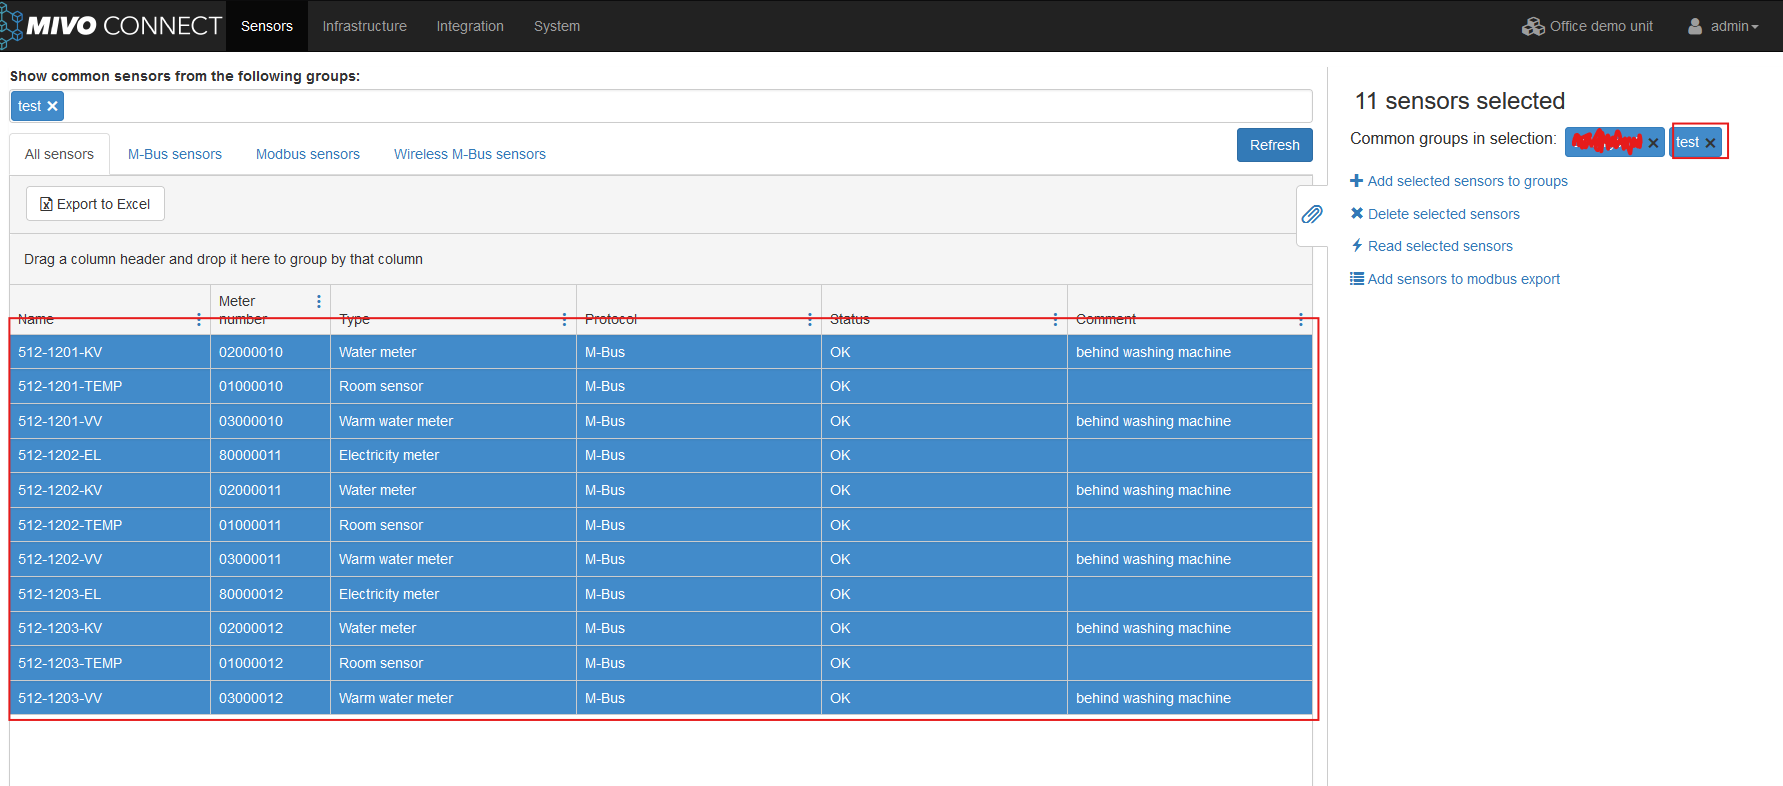
Drag to select all sensors in the list.
-
Confirm the Common Group
In the right-hand view, you will see the header Common groups in selection next to the group name. -
Remove the Group
- Click the cross (X) next to the group name under Common groups in selection.
-
This will remove all sensors from the group.
-
Click Refresh again. The removed group should no longer appear if you search for it.
Update Meter Names in MIVO Connect#
1. Go to the “All Sensors” view#
- Log in to MIVO Connect.
- Navigate to Sensors > All sensors.

2. Adjust the column view#
- Click the three dots next to the column header.
- Make sure only the following columns are checked:
NameMeter numberComment- If you are using wireless sensors: also check
Encryption Key.

3. Export the meter list#
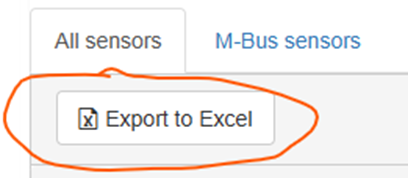
- Click Export to Excel to export the list.
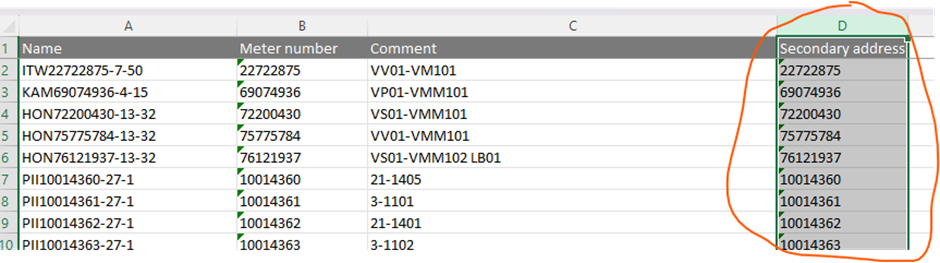
4. Edit the file in Excel#
- Open the file and enable editing.
- Copy the Meter number column to a new column and name it
Secondary address.
 - Change the meter names in the
 Name column to your desired names.
- Note: Each name must be unique.
 - Save the file as a CSV:
- Go to File > Save As and choose CSV (Comma delimited) as the file type.
- Save the file as a CSV:
- Go to File > Save As and choose CSV (Comma delimited) as the file type.

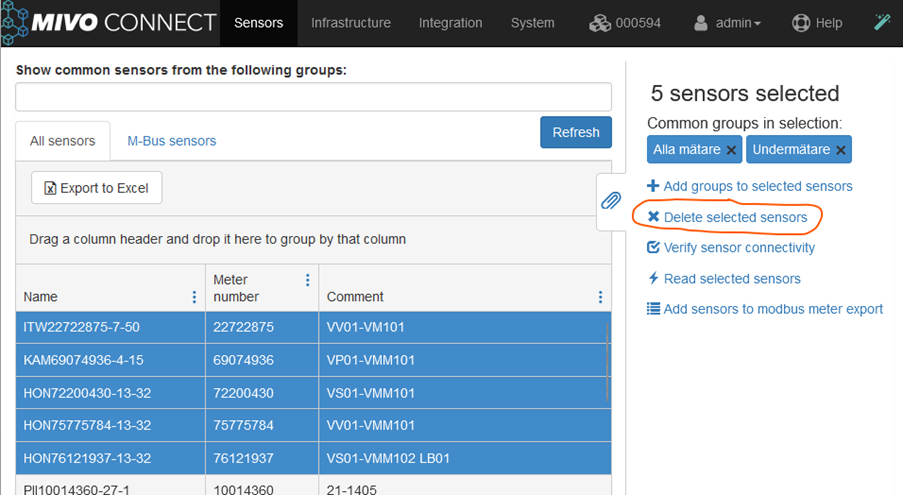
5. Remove the old meters from the device#
- Select the meters you want to delete:
- Use Ctrl + click to select multiple meters.
- Or use Shift + click to select a range.
- Click Delete selected sensors.
6. Import the new CSV file#
- Click the magic wand icon (top right).
- Choose:
Import M-Bus sensors using file- (In newer versions: first select "Add sensors", then choose import via file)
7. Upload the CSV file#
- Click Browse and select the CSV file you saved earlier.
- Click Next.
8. Review the import log#
- You should see a message like:
File read complete, XXX sensors read
- Also, check for any file errors.
9. Complete the import#
- Click Next once the log is OK.
- When the sensor scan is done, click Next again.
- Finally, click Finish to save the meters to the device.